Hey Guys , today we’re going to talk about continuous integration using Github and Godot so we are going to set up our build process and we’re going to build out for Android, Windows, Mac, and Linux. In this first part of the series we are only going to cover building, in the next part we’re gonna go ahead and do unit tests and things like that.
Getting Into GitLab
To get GitHub actions to work we must move over the the Actions page, so lets click on the actions button.
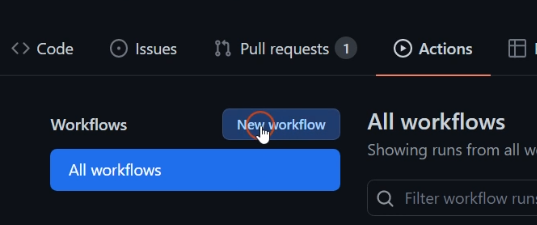
Go ahead and click on new workflow. This page has alot of free built workflows for us! The problem is none of the workflows are useful for Godot, however we can build one from scratch to do what we need. Lets go ahead and click on the Set up a workflow yourself.

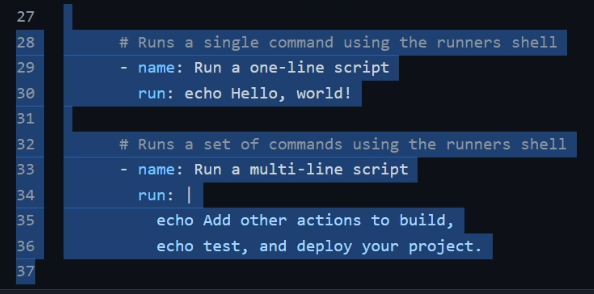
You will see this nice edit screen. On the left is where we will be putting our code, and on the left is where all of the community templates are located for building.
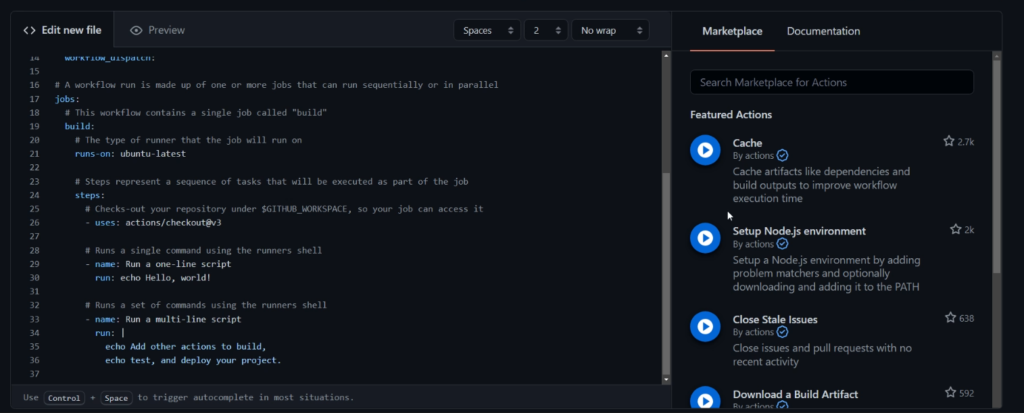
Lets head over to the community template and search Godot. We are going to be using the Firebelly Godot Export action.
We are going to go ahead and remove the bottom of the yaml file and start placing our godot export logic.
We will place the following below. Each section has a use:
      - uses: actions/checkout@v3 #check out our branch
      - name: exportGame # name of our export job
        uses: firebelley/godot-export@v3.0.0 # the docker container we are using to build out our project
        with: # This is our input vars that go into our export template.
# This is the link to a download of Godot. If you are using mono you must pull the mono version of godot
          godot_executable_download_url: https://downloads.tuxfamily.org/godotengine/3.4.4/mono/Godot_v3.4.4-stable_mono_linux_headless_64.zip

# This is the link to a download of Godot export template. If you are using mono you must pull the mono version of godot
          godot_export_templates_download_url: https://downloads.tuxfamily.org/godotengine/3.4.4/mono/Godot_v3.4.4-stable_mono_export_templates.tpz

# Where our project is located in our git structure. Usually this is ./ however if you have additional stuff in your project you may need to change this.
          relative_project_path: ./

# Wether or not to create a release build
          create_release: true
        env: # This is our enviornment vars. This has our GitHub token so we can create our releases
          GITHUB_TOKEN: ${{ secrets.GITHUB_TOKEN}}
When you look at the godot_executable_download_url and the template url you must go out to https://downloads.tuxfamily.org/godotengine/ and link it to the correct version of your Godot instance.
Go ahead and click Start Commit.

Fixing Godot Issues
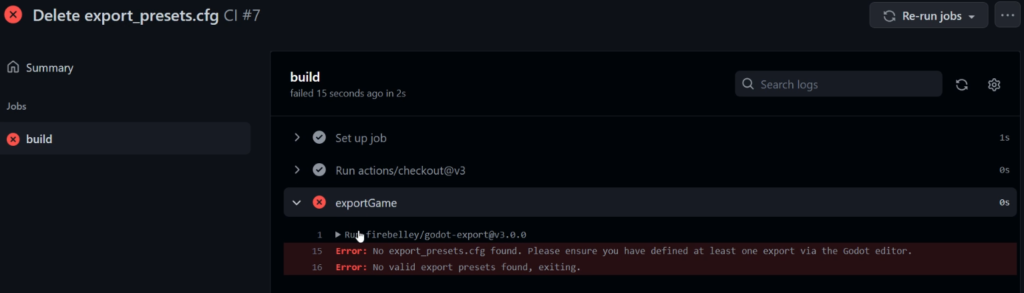
From here you must fix a small issue with Godot. You’ll notice once you have commited your yaml file and go back to your actions that your have build errors. Why is that?
Well it according to the error we need to have a export template, usually most gitignores remove your export templates, so lets readd them.
Lets go over to Godot and go to Project > Export
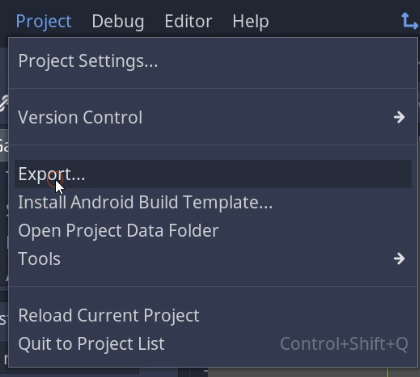
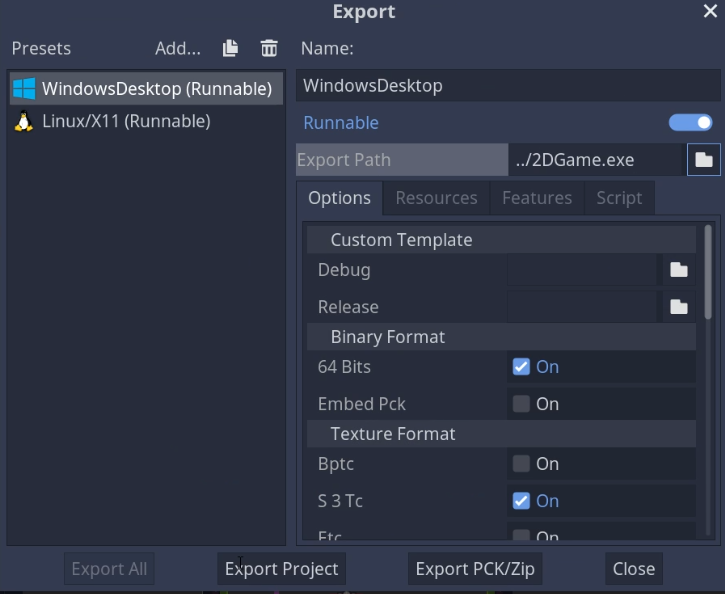
Once we are in the Export Settings we can go ahead and add our project. Lets add a Windows Export.
Lets make sure our windows export name is “WindowsExport” without the space CICD has some issues with spaces in the name.
Lets then set our export location to ../<ourgamename>.exe
Lets do that for any of the platforms we want to support.
Lets commit our export template to git so open up or git bash and lets type git add exporte_template.cfg and then hit enter
Lets then git commit -a and git push our project.
Checking on Our Build System
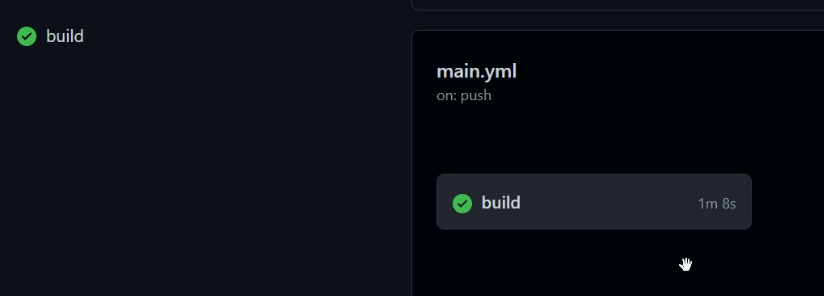
Lets go to our actions and check our first action
You will notice we have a successful build!

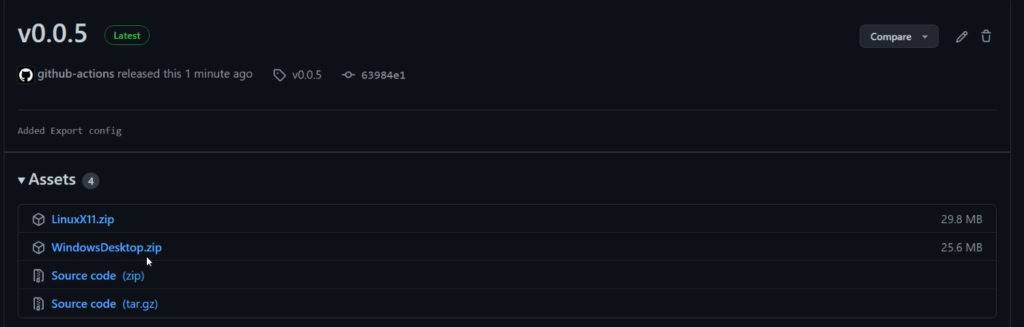
Lets head back to our may screen in Github.

You will notice on the right we have a release!
You will notice that we have our zip folders here for each of our release!
Doing Android Builds
Andorid building is not fun, for the most part its the same as building for any other project. Lets go ahead and set up our android export like before.
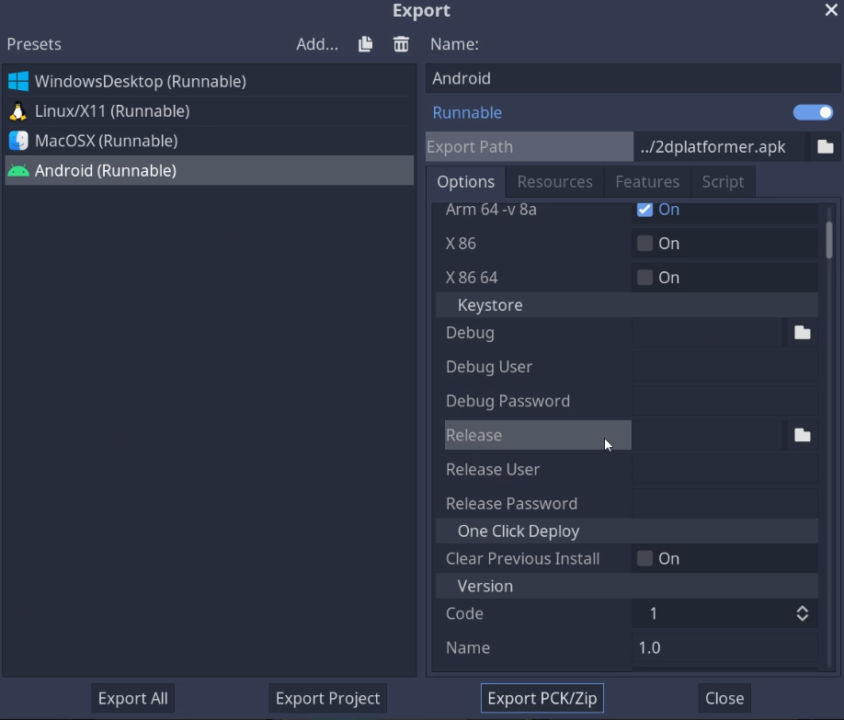
We must populate our release key and our debug key. In this case we will fill both of them up with our debug key. (note if you havent generated a key you should do that now)
You must also make sure your debug key and release key is located in your project directory.
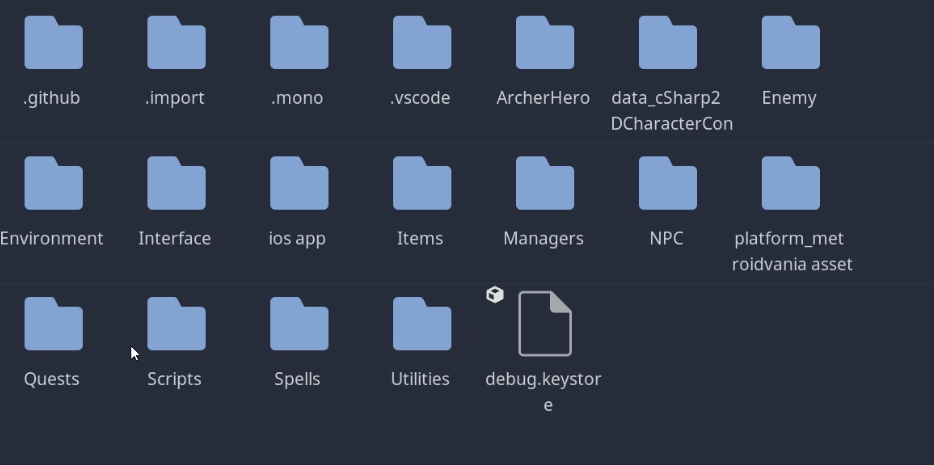
You must commit your keys to your git repos this to allow your build system to access the keys you have generated.
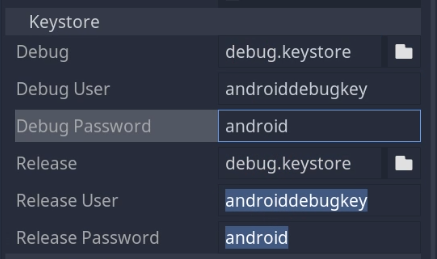
From here we must set up our keystores. You must set the location of your keystore to a generic path this is to allow your key to be included in the build.
That should be it! It should work as soon as you push off of this to git!
Thats it!
Thats it! Its simple to add CICD to your Github projects and its very useful especially for open source projects!
If you want a video on this heres my companion video.