Hey guys, today I waned to talk about Godot 3.4 beta 2, YES you heard me correct BETA 2 of 3.4!
Some Small Changes
They have had a few small changes they fixed a few C# issues, animation issues, added some crypo stuf rsa and hmac encryption. They added in a Javascript interface for web there will be an article on this to come!
The Big News Occlusion Culling!
The biggest news out of this is the addition of Occlusion Culling! Previously, Godot had no way to occlude objects from your 3d scene.
What is Occlusion Culling?
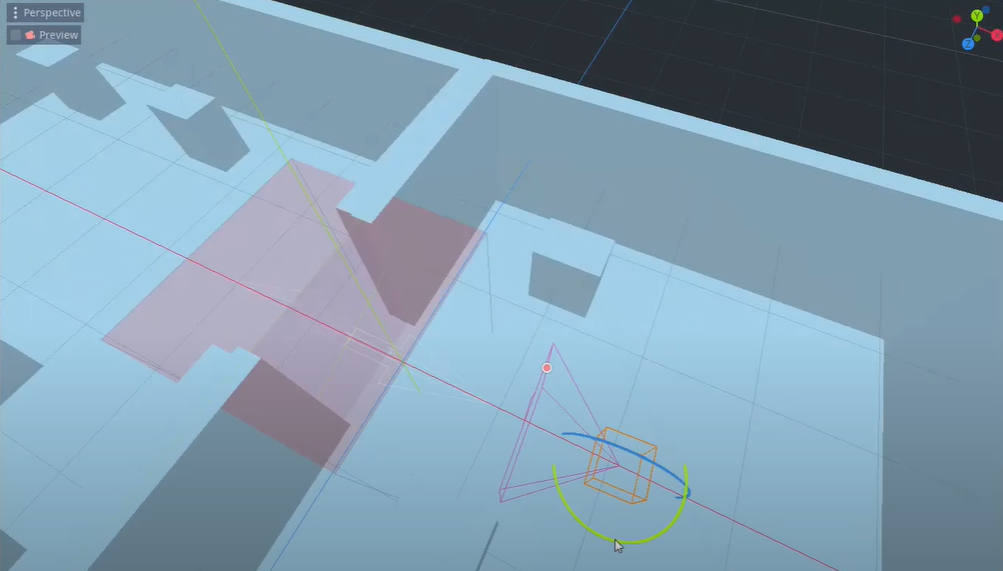
Occlusion culling is a feature that will disable the rendering of objects when they are not seen by the camera. Looking at the photo on the right you can see marked in red objects that are hidden.
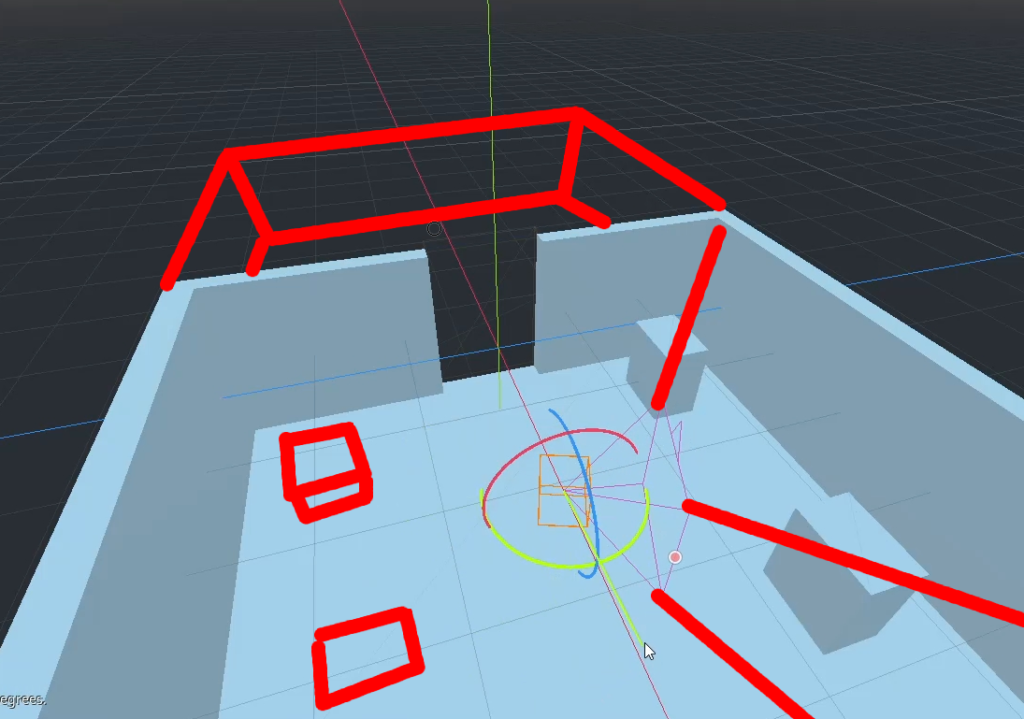
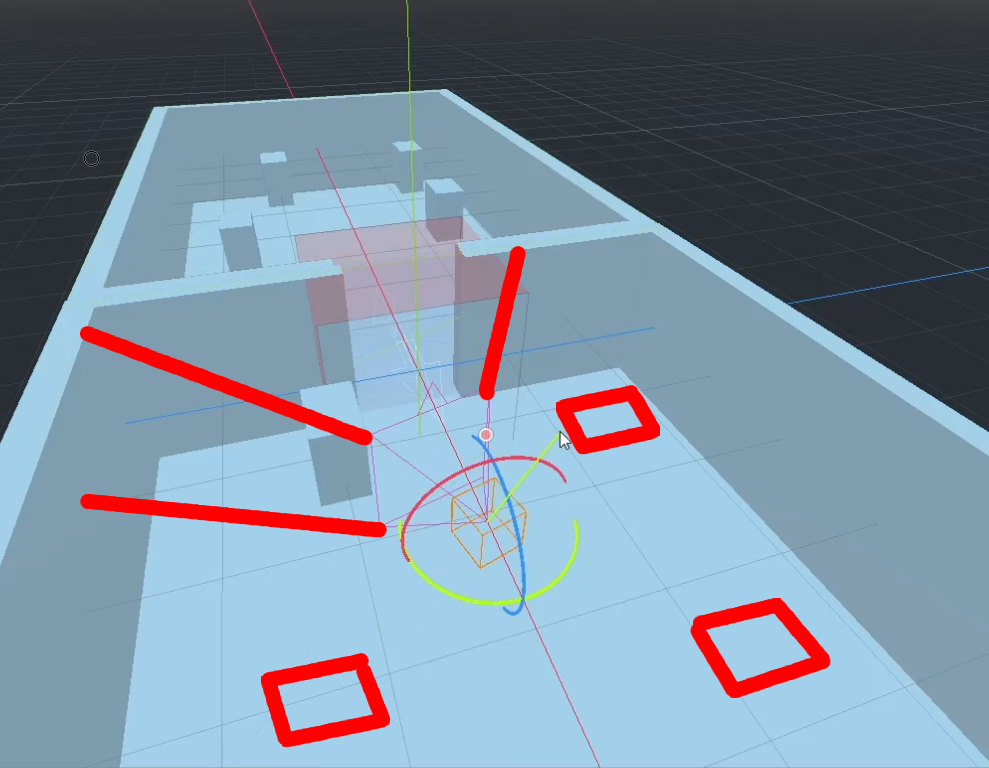
When the user rotates the camera it will show the objects and hide objects that are no longer in camera view. This improves performance by reducing draw calls on the machine requiring the GPU to do less work to fill in all of the triangle and shader information.
OK This is Great How Do I Do This?
Ok so one of the cool things about Godot is we have a web version of Godot we can use to test these new features. If you dont have a link here is one : https://editor.godotengine.org/releases/3.4.beta2/godot.tools.html
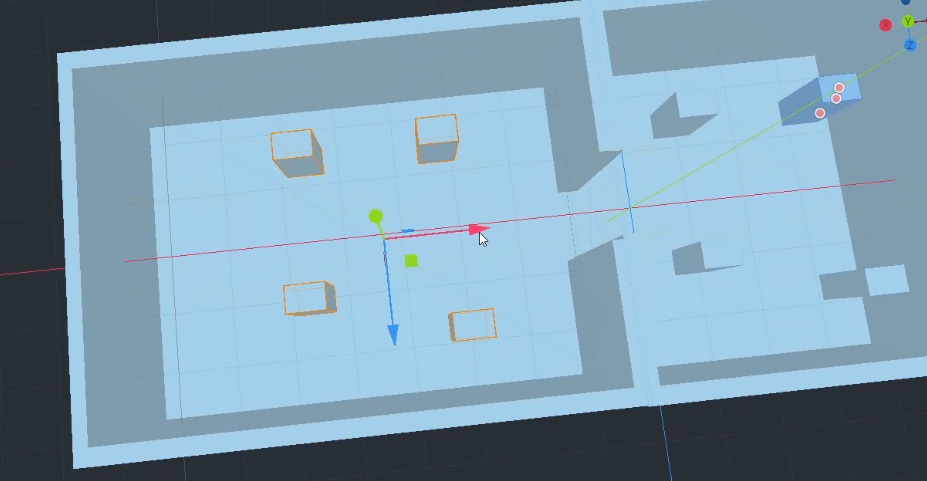
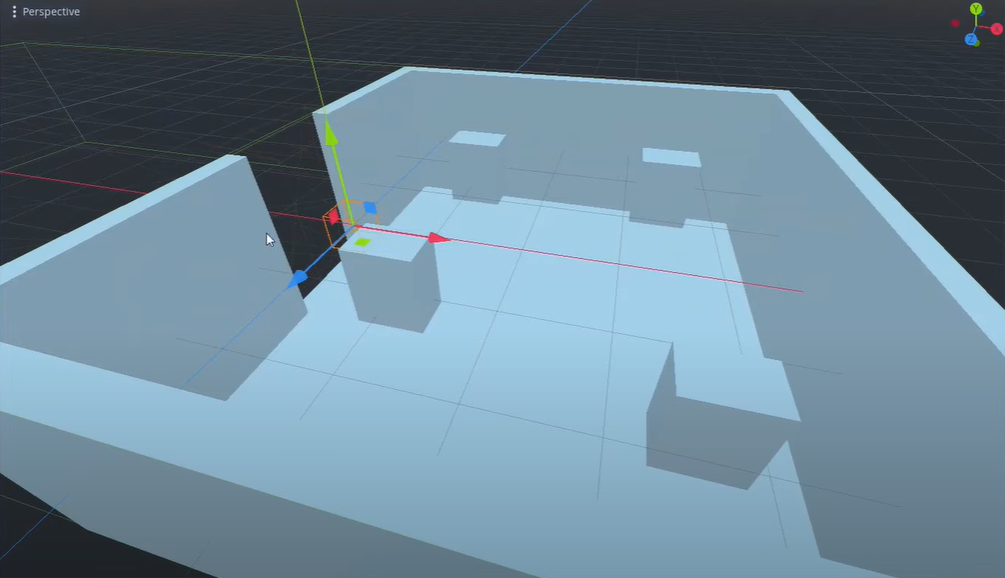
First thing we need to do is create a scene. So using CSG meshes I created this basic test scene.
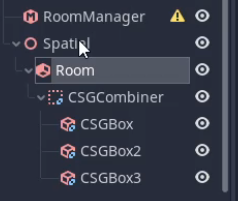
Next we need to define our room manager so go ahead and add that. What is a room manager? A room manager is responsible for all of the occlusion culling that Godot is going to take. It takes in a list of rooms and based off of what the camera currently can see it will show and hide rooms.
After that we need to define our rooms. A room is a connection of objects that will show and hide when the camera is looking at them. So lets create a node to put our rooms under and create a room node. Now that we have a room node we need to move our objects under that node. This will make the room expand to the size of the objects bounds.
After we get our rooms defined we need to add our node we created that holds all of the rooms to our room manager. Now we click “Convert Rooms”. This will calculate all the rooms by there visibility to the camera. You will notice all the rooms and assets disappear but one. If we want to see our rooms we can click on Main -> Active and uncheck it. This will show all of the rooms in your scene.
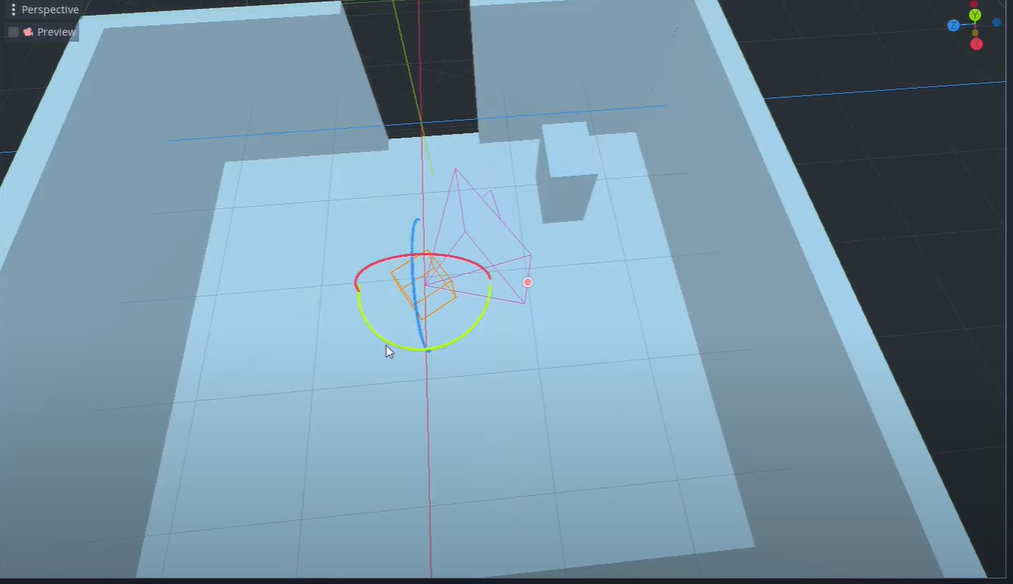
If we scroll down in the inspector with the room manager selected you’ll notice a debug section. In the debug section we can see a Preview Camera.
Lets go ahead and create a camera, once we have our camera click assign and pick our camera. You will notice only objects that are visible to the camera will be shown. This is great! We can now move our camera and see objects appearing and disappearing. You’ll notice something however, in our test scene we cant see any other rooms even if the camera sees it but if we move the camera to that room it shows it.
How do we fix our rooms not being seen? This is where portals come in. Portals are used to allow users to see between two rooms. How do we do this?
First we need to create our portal, lets right click one of or rooms and add a portal lets name it portal_one. This name must be portal_name this is the naming convention. Lets put it in our door way we created in the beginning. Now if we go back to our game manager and click “Convert Rooms” you’ll notice nothing changed… This is because a portal must be on both sides of a room. So lets right click our other room and add our portal. Lets put it in the same place as the other one and name it portal_one*1. This is important, this will link the two portals to allow the user to view into the other room. Once we do that we are good to go.
So this is the important part. If you have a lot of objects you’ll notice a huge performance gain from these new features! After doing some research I have seen a huge performance gain (like 600%) so this is a huge win for the 3d team on Godot! Well that’s all I have for you today So thank you for reading and ill see yall next time…
Thanks