Hey Guys!
In this guide, we will delve into creating a touch screen camera in Godot 4, enabling the user to pan, zoom, and rotate the camera using touch inputs.
Initializing the Camera2D
First off, we start with the Camera2D node. To make the Camera2D touch-responsive, we add a script to it. So right click -> attach script. Lets name it TouchCameraController.gd.
Side note I have added an icon just so I can see the object move.

The Set-Up
First thing’s first, we’re going to be using the Camera2D node in Godot. We’re also going to need a bunch of variables to control our camera. We’ve got variables for zoom speed, pan speed, rotation speed and some for controlling whether we can pan, zoom, and rotate. There are also a couple of other variables to help us store the state of the camera and touch inputs. Here’s how it’s gonna look:
extends Camera2D

@export var zoom_speed: float = 0.1
@export var pan_speed: float = 1.0
@export var rotation_speed: float = 1.0
@export var can_pan: bool
@export var can_zoom: bool
@export var can_rotate: bool

var start_zoom: Vector2
var start_dist: float
var touch_points: Dictionary = {}
var start_angle: float
var current_angle: float
Panning the Camera
Now that we’re all set up, let’s start with panning. This is the basic movement of the camera around the scene. We’ll need to listen to some input events for this. Let’s override the _input(event) function to check for touch events and drag events:
func _input(event):
	if event is InputEventScreenTouch:
		_handle_touch(event)
	elif event is InputEventScreenDrag:
		_handle_drag(event)
Now, for our _handle_touch(event) function, we’ll want to keep track of where we’re touching the screen. This function will store the position of each touch point in the touch_points dictionary using the touch’s index as the key. We’re also going to reset the start_dist to 0 if there’s less than two touch points:
func _handle_touch(event: InputEventScreenTouch):
	if event.pressed:
		touch_points[event.index] = event.position
	else:
		touch_points.erase(event.index)

	if touch_points.size() < 2:
		start_dist = 0
With just one touch point, we can pan the camera. This is done in the _handle_drag(event) function:
func _handle_drag(event: InputEventScreenDrag):
	touch_points[event.index] = event.position

	if touch_points.size() == 1 and can_pan:
		offset -= event.relative * pan_speed
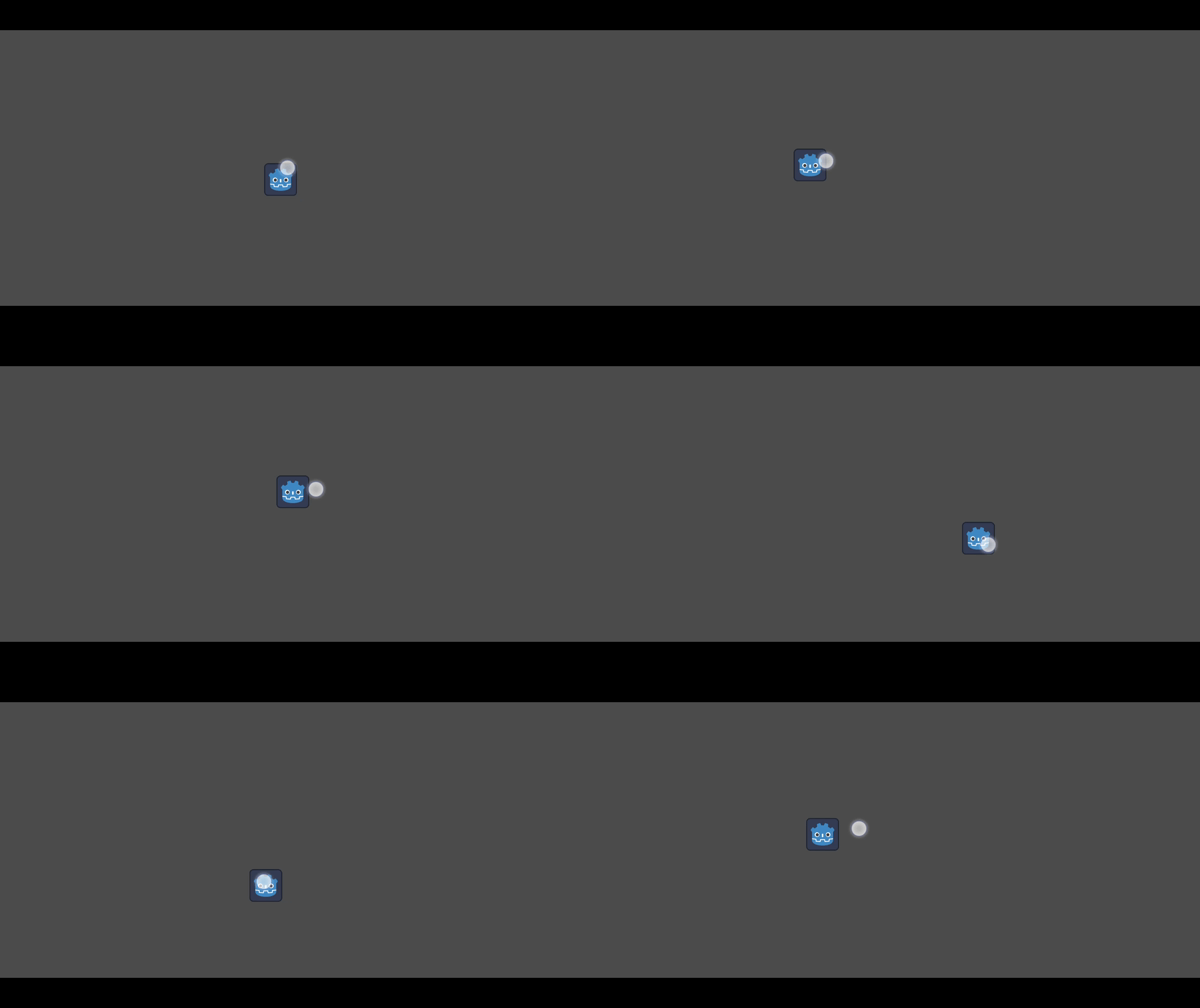
If we run it on our local android machine you will see our camera is being panned!

Adding Zoom
Now that we’ve got panning down, let’s add in the ability to zoom. First, we need to tweak our _handle_touch(event) function. When we have two touch points, we’ll calculate and store the starting distance between them:
func _handle_touch(event: InputEventScreenTouch):
	    if event.pressed:
		touch_points[event.index] = event.position
	else:
		touch_points.erase(event.index)
	if touch_points.size() == 2:
		var touch_point_positions = touch_points.values()
		start_dist = touch_point_positions[0].distance_to(touch_point_positions[1])
		start_zoom = zoom
		start_dist = 0
Then, we’ll add the zoom control to our _handle_drag(event) function. When there are two touch points, we’ll calculate the current distance between the touch points, and adjust the zoom accordingly:
func _handle_drag(event: InputEventScreenDrag):
	touch_points[event.index] = event.position
    # Handle 1 touch point
	if touch_points.size() == 1 and can_pan:
		offset -= event.relative * pan_speed    # Handle 2 touch points	elif touch_points.size() == 2 and can_zoom:
		var touch_point_positions = touch_points.values()
		var current_dist = touch_point_positions[0].distance_to(touch_point_positions[1])

		var zoom_factor = start_dist / current_dist
		zoom = start_zoom / zoom_factor

		limit_zoom(zoom) # This is about to be created!
Speaking of limit_zoom(zoom), it’s a neat little function we use to prevent the zoom level from going overboard. This will stop our zoom from going to far in or out:
func limit_zoom(new_zoom: Vector2):
	if new_zoom.x < 0.1:
		zoom.x = 0.1
	if new_zoom.y < 0.1:
		zoom.y = 0.1
	if new_zoom.x > 10:
		zoom.x = 10
	if new_zoom.y > 10:
		zoom.y = 10
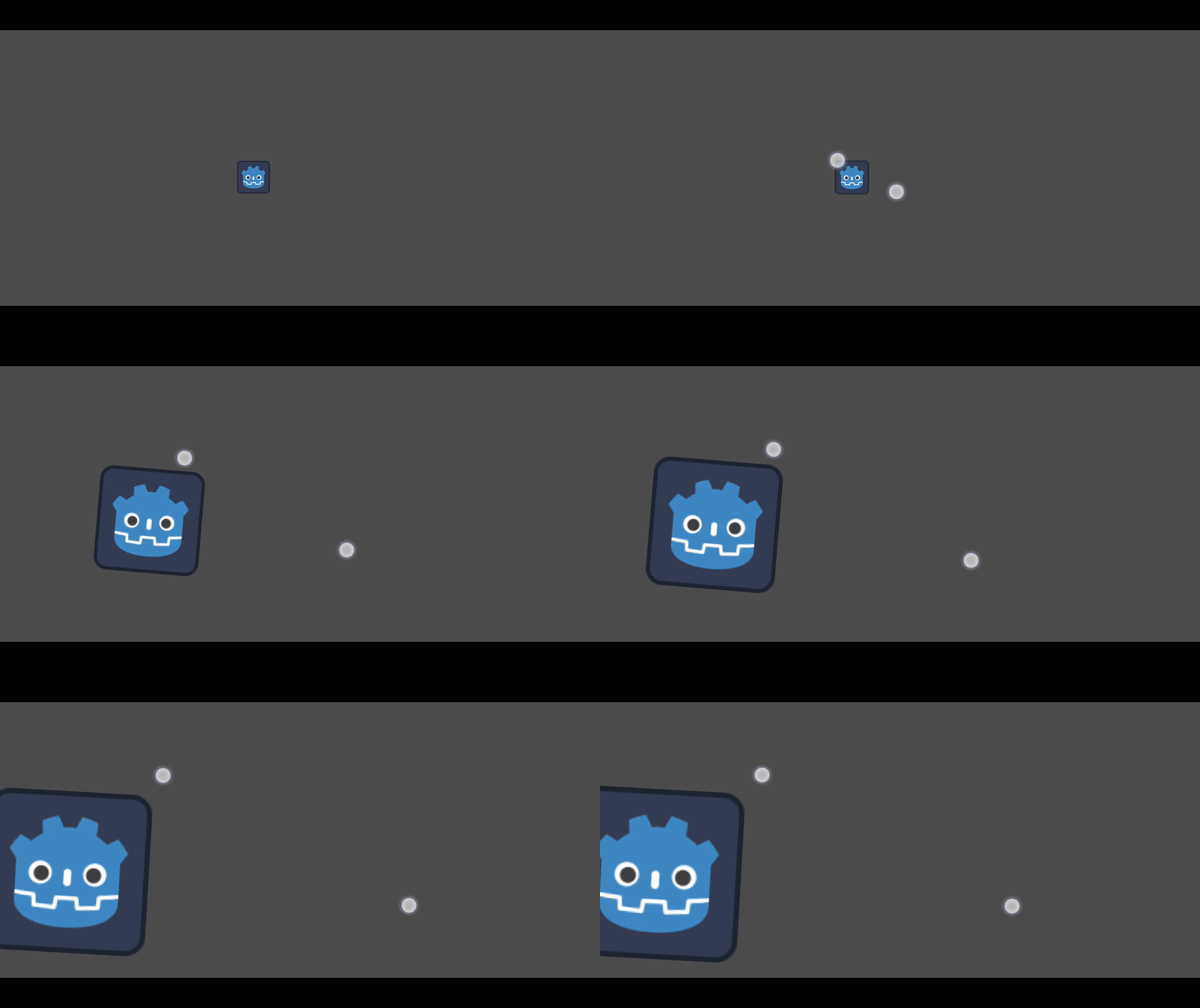
If we hit play you will see we can now zoom our camera in!

Adding Rotation
Finally, let’s add in the ability to rotate. We’ll calculate the starting angle between our two touch points in our _handle_touch(event) function:
func _handle_touch(event: InputEventScreenTouch):
    if event.pressed:
		touch_points[event.index] = event.position
	else:
		touch_points.erase(event.index)
	if touch_points.size() == 2:

	if touch_points.size() == 2:
		var touch_point_positions = touch_points.values()
		start_dist = touch_point_positions[0].distance_to(touch_point_positions[1])		start_angle = get_angle(touch_point_positions[0], touch_point_positions[1])
		start_zoom = zoom
	elif touch_points.size() < 2:
		start_dist = 0
And then, we add in the rotation control to our _handle_drag(event) function:
func _handle_drag(event: InputEventScreenDrag):
	touch_points[event.index] = event.position

	if touch_points.size() == 1:
		if can_pan:
			offset -= event.relative * pan_speed
	elif touch_points.size() == 2:
		var touch_point_positions = touch_points.values()
		var current_dist = touch_point_positions[0].distance_to(touch_point_positions[1])
		var current_angle = get_angle(touch_point_positions[0], touch_point_positions[1]) #this will be created below

		var zoom_factor = start_dist / current_dist
		if can_zoom:
			zoom = start_zoom / zoom_factor
		if can_rotate:
			rotation -= (current_angle - start_angle) * rotation_speed
			start_angle = current_angle # Update the start_angle to the current_angle for the next drag event

		limit_zoom(zoom)
Lastly, here’s our get_angle(p1, p2) function that’s used to calculate the angle:
func get_angle(p1: Vector2, p2: Vector2) -> float:
	var delta = p2 - p1
	return fmod((atan2(delta.y, delta.x) + PI), (2 * PI))
Finally, if we play we can now Rotate!

Final Script
Heres the final script:
extends Camera2D

@export var zoom_speed: float = 0.1
@export var pan_speed: float = 1.0
@export var rotation_speed: float = 1.0
@export var can_pan: bool
@export var can_zoom: bool
@export var can_rotate: bool

var start_zoom: Vector2
var start_dist: float
var touch_points: Dictionary = {}
var start_angle: float
var current_angle: float

func _ready():
	start_zoom = zoom

func _input(event):
	if event is InputEventScreenTouch:
			_handle_touch(event)
	elif event is InputEventScreenDrag:
			_handle_drag(event)

func _handle_touch(event: InputEventScreenTouch):
	if event.pressed:
		touch_points[event.index] = event.position
	else:
		touch_points.erase(event.index)

	if touch_points.size() == 2:
		var touch_point_positions = touch_points.values()
		start_dist = touch_point_positions[0].distance_to(touch_point_positions[1])
		start_angle = get_angle(touch_point_positions[0], touch_point_positions[1])
		start_zoom = zoom
	elif touch_points.size() < 2:
		start_dist = 0

func _handle_drag(event: InputEventScreenDrag):
	touch_points[event.index] = event.position

	if touch_points.size() == 1:
		if can_pan:
			offset -= event.relative * pan_speed
	elif touch_points.size() == 2:
		var touch_point_positions = touch_points.values()
		var current_dist = touch_point_positions[0].distance_to(touch_point_positions[1])
		var current_angle = get_angle(touch_point_positions[0], touch_point_positions[1])

		var zoom_factor = start_dist / current_dist
		if can_zoom:
			zoom = start_zoom / zoom_factor
		if can_rotate:
			rotation -= (current_angle - start_angle) * rotation_speed
			start_angle = current_angle # Update the start_angle to the current_angle for the next drag event

		limit_zoom(zoom)

func limit_zoom(new_zoom: Vector2):
	if new_zoom.x < 0.1:
		zoom.x = 0.1
	if new_zoom.y < 0.1:
		zoom.y = 0.1
	if new_zoom.x > 10:
		zoom.x = 10
	if new_zoom.y > 10:
		zoom.y = 10

func get_angle(p1: Vector2, p2: Vector2) -> float:
	var delta = p2 - p1
	return fmod((atan2(delta.y, delta.x) + PI), (2 * PI))
Conclusion
There you have it! With this script, you can now make a touch-responsive camera in Godot 4 that can pan, zoom, and rotate. Just be sure to attach it to a Camera2D node, and you’re all set. Have fun tweaking and playing around with it to get it just right for your game!
Thank you for reading! If you have questions hit me up on discord or comment on my video linked below


